

The recipe for the Pizza Rustica is on page 430 of the Baking with Julia book, or you can also find the recipe at the blogs of Emily of Capital Region Dining or Raelynn of The Place They Call Home today. Emily and Raelynn have volunteered (Thank you!!) to be hosts for this weeks pick, and they will post they're experience w/ this recipe along w/ pics and the recipe itself. I'm sure the posts this week will be interesting to read, since I think alot of people will have put their own twist on this recipe.
I had just received my copy of the current issue of Cooking Light magazine and was perusing its pages, when I surprisingly enough found a recipe for Pizza Rustica on page 162. The recipe for the filling in the Baking with Julia book seemed like it would be kinda bland, so I was curious to see what all Cooking Light's recipe called for. I noticed they used part-skim ricotta, lotsa veggies and 2 large eggs plus 1 white, so these are the components that I borrowed to use in my own modified filling recipe.
First of all, I had to make up the dough though. Several people who had already made the dough said it was a little too sweet and the 1/3 cup sugar called for in the dough recipe did seem like quite alot, so I knew I was going to reduce the sugar some.
However...as I was standing there taking a mental inventory of all I had thrown in my mixing bowl ... flour (check), salt (check), baking powder (check) I completely forgot about the sugar. OOPS :) These things happen. So by the time I realized I had forgotten the sugar, my dough was wrapped up and ready for the fridge.


Not knowing what else to do, I sprinkled ~ 2 tsp of sugar on my pastry mat, unwrapped the dough, rolled it in the sugar until it all stuck, then kneaded the sugar into the dough. Problem solved (sort of).
I have an old, very small food processor, so my dough was made using my trusty Pampered Chef pastry blender. If they still make it like this, I highly recommend their pastry blender. It is very sturdy and there are no wobbly, flimsy metal parts to it.
Here is the mostly complete cast of characters that went into the filling of my Pizza Rustica,

1/4 lb of thinly sliced deli ham, shredded (couldn't leave the meat out or hubby would be very sad)
1 half of a roasted red pepper (lower left hand corner)
3 diced green onions
1 small zucchini, diced
1 large clove of garlic, minced
~3 oz of baby spinach
~ 2 tsp minced fresh parsley
1 tsp dried oregano
2 oz of crumbled feta cheese
~3/4 cup of finely grated Parmesan cheese
12 oz of part-skim ricotta (I drained this for about 2 hours and got ~ 1 Tbsp of liquid out of it)
2 large eggs, lightly beaten
1 large egg white
1/4 tsp of fresh ground pepper
a pinch of kosher salt (since I didn't use the saltier prosciutto called for in the book)
Here are all my pretty veggies in my mixing bowl before I added the other filling ingredients,
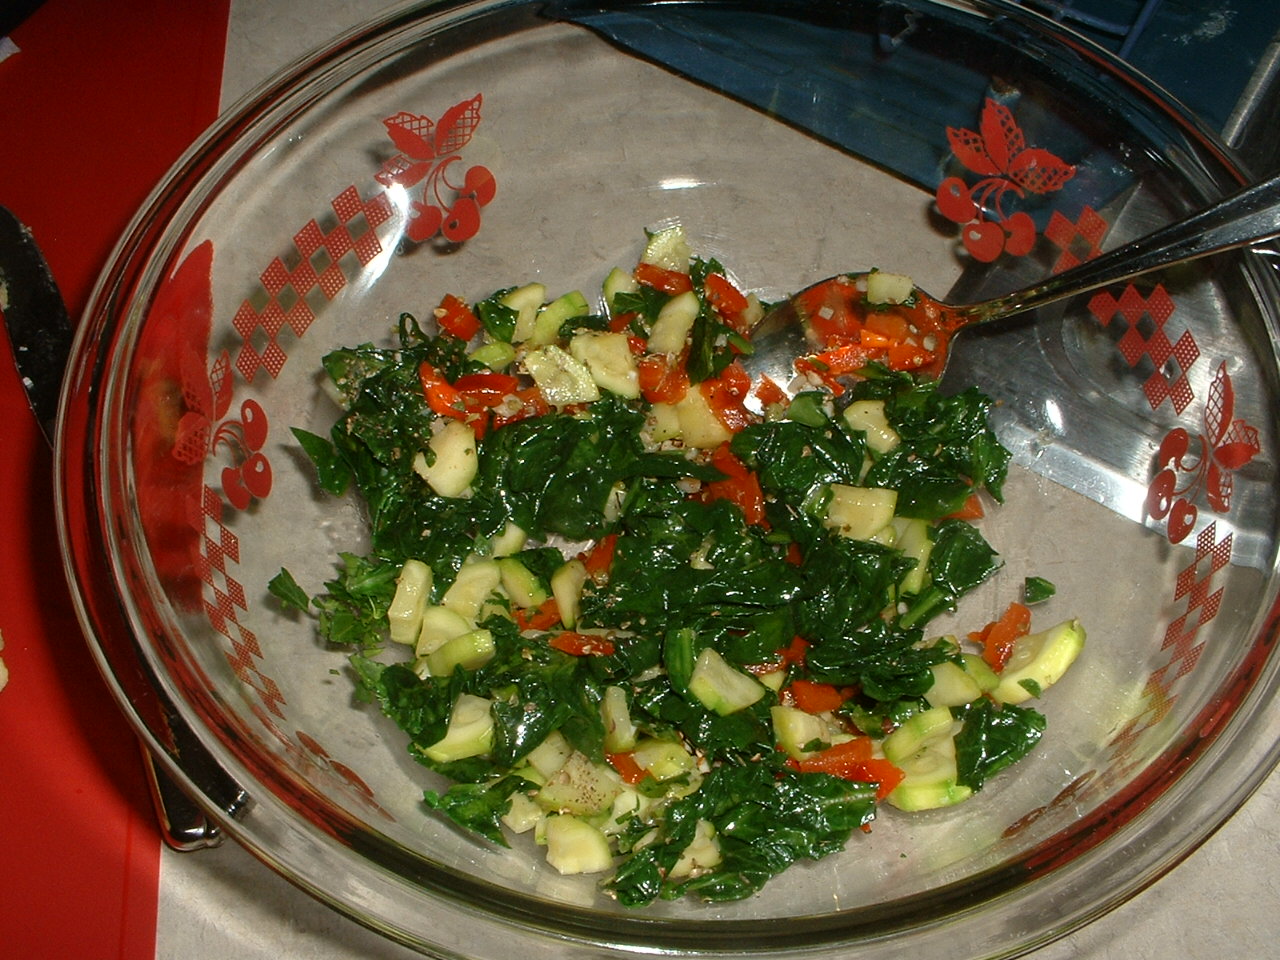
Looks spring-ey doesn't it?
I sauteed my spinach and zucchini in a skillet in some EVOO, just til the spinach wilted and the zucchini softened a bit. I then put these into a small colander so that some of the liquid might drain off. Then I threw my diced green onion and minced garlic into the skillet to briefly saute them in the remaining oil. All the veggies then went together into the above mixing bowl. It was fun throwing the filling together. It was easy to stir and once together it just got dumped into my pie plate already lined w/ the bottom crust.
I rolled my dough between wax paper this time, because I've seen alot of others do it that way. With this dough though, I should've sprinkled the dough w/ a touch of flour first, because the wax paper stuck pretty bad to the dough.

(No, that's not a bug stuck between the paper and my dough. It's a stray piece of minced parsley that was stuck to my finger or something and got in there by accident :) )
I had been wanting a pastry wheel for awhile now, so this was my excuse to go get one. In the afternoon, before I started my pie, I dashed off to a Williams Sonoma store near my house, and picked my up a shiny new fluted pastry wheel and it's from Italy!
Here's my pie ready for the oven,

I almost dumped it going into the oven. I baked the pie on a round baking sheet, just because it's easier to take in and out of the oven, but as you probably have experienced too, the stupid pie plate slides around on the pan like it were an ice skating rink or something.
I almost forgot. I added one last ingredient to perfect my pie. Before I placed my lattice strips of dough on top, I had hubby spread on a thin layer of shredded mozzarella cheese. My thinking is that it would melt and sort of create a barrier for excess juices coming up out of the pie.
Oooh, it smelled wonderful while baking! I was very nervous about how it would taste, since I don't usually modify recipes so heavily. It turned out to be quite a delicious pie! We let ours cool exactly 15 minutes, before cutting into it, which I think was perfect, because any longer cooling and it would've been lukewarm. Even hubby said it was 'really good', which I usually don't get from him when I've made something that I've put both spinach and zucchini into.
 |
| Yum! Nicely browned mozzarella cheese. |
Please go check out what some of the others in the group did for this episode of Baking with Julia here, and maybe you'll get some more ideas for how you'd like to create your own Pizza Rustica pie!

Stay tuned for Lemon Loaf cake in two weeks time.


